Showing posts with label Lighting. Show all posts

Wednesday, 30 November 2011

Master Bedroom Light


A week or so ago, I was walking through Bunnings (a home improvement/hardware store) and was blinded by bling.  Unfortunately I only had my phone with me, and the photos don't do justice as to the amount of sparkle theses light fittings had but let me just say I needed sunglasses!


Although not a bad price at $169, I decided that I could make one cheaper.  So I used the above photos as inspiration.  Walked down the aisle a bit and found myself a drum shade for $25.

Before, I go on I want to show you what I had before.


Yes, there it is the $5 plastic shade from the builders. 

I had upgraded to this shade, which I bought, and loved.  In fact I still love it, it was just too small for the space.  It is now in the main toilet, and looks great there I must add. :-)


And, so onto the drum shade.  It fits in the space beautifully

 And I love the linen texture.


I slept on this for a day or two trying to figure out what I was going to hang chrystal beads off.  Then I remembered I had a perfectly good shade on a disgraceful brass touch lamp (that was broken - the base had come apart).


I dismantled the shade.


and attached the left over rings to my drum shade with wire.

The wire I decided looked ugly.  I ended up buying 1 metre of chain and spray painted the rings and chain white.  I then attached that to the drum shade.  I ended up turning what would have been the top of the dismantled light, upside down.  I don't have any pictures, but I strung my own beads with fishing wire and attached these to the centre ring. 

I bought the beads from Spotlight (a crafting store) (for about $40) and asked assistance from the staff, on how to best string the beads, the were very helpful.  But I am sure if you google stringing beads or jewelry making, you would find some helpful tutorials.
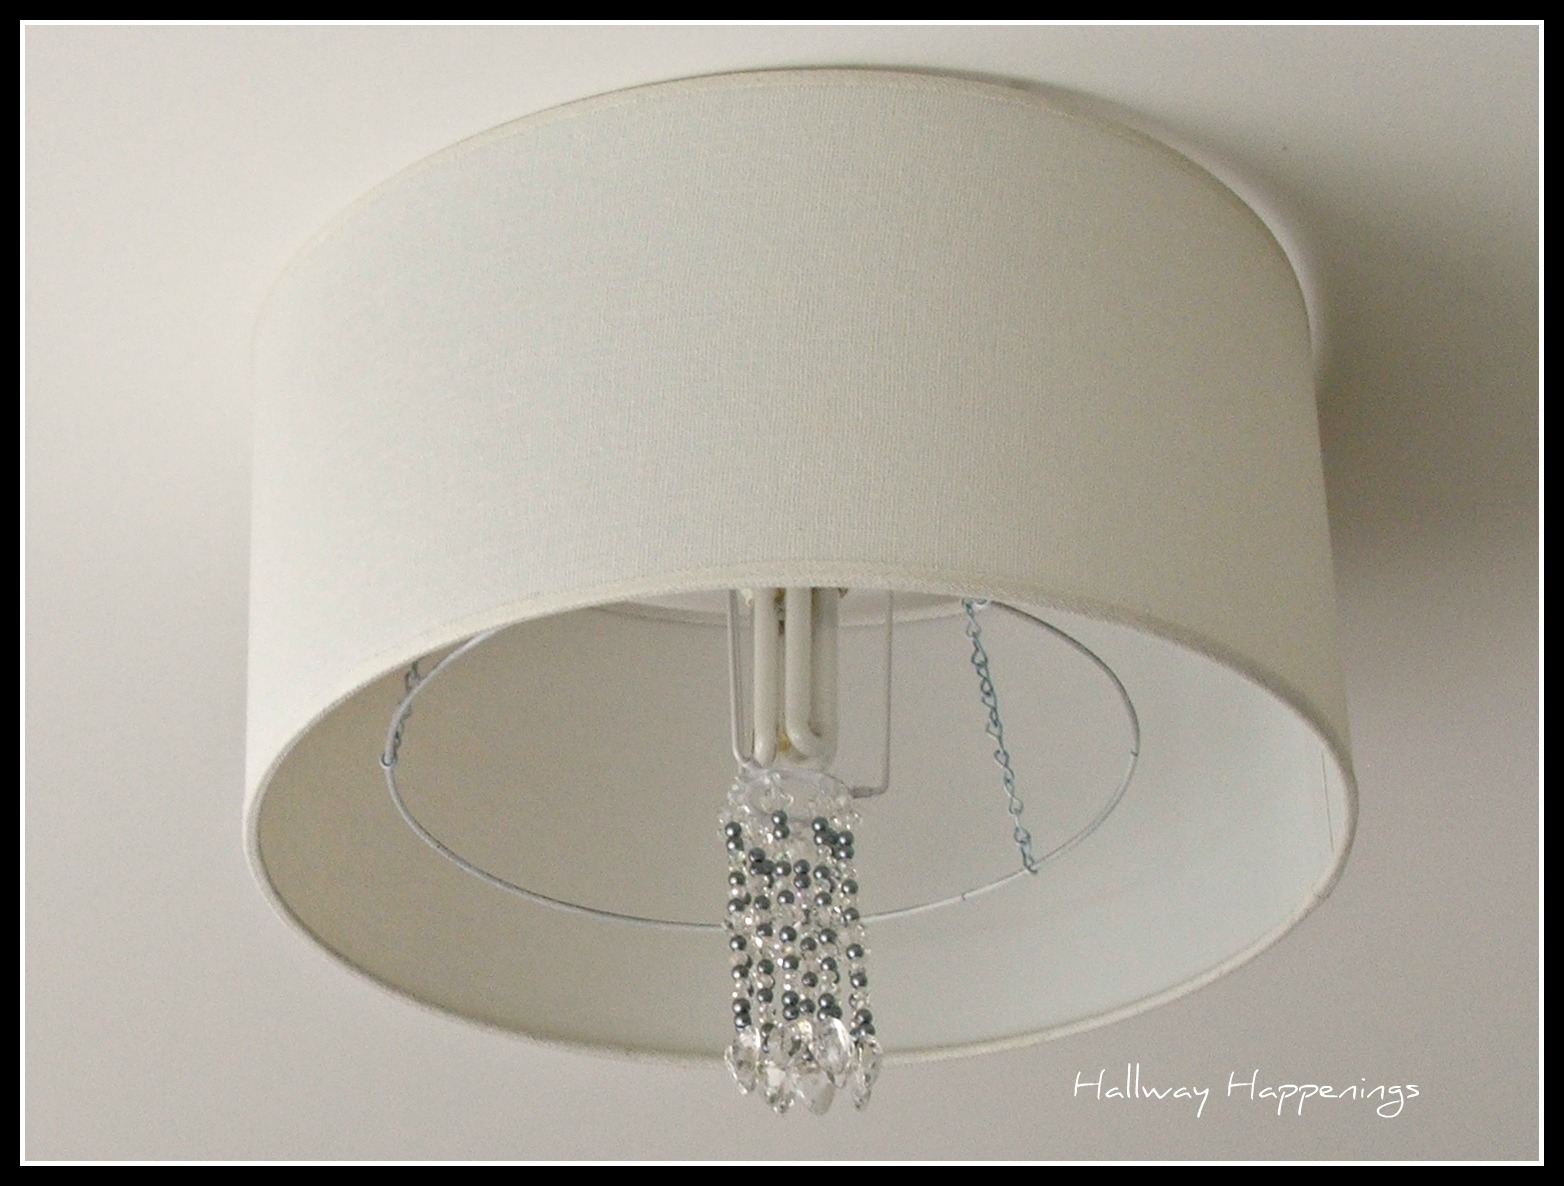

I'm not sure that I liked the look of my light fitting at this point, but I hadn't done anything that couldn't be removed.  I wanted to do something similar to the outside ring, as per my inspiration light fitting, and have lots of chrystals dangling down.  But it was going to cost me a small fortune to buy all the beads, and it would have been cheaper to buy the inspiration light fitting.  Hmmmm

I could buy some necklaces.  As it happened I walked into a charity shop today and found a necklace that had some beads, but not enough for what I wanted.  For $7 I bought the necklace and decided I would just keep my eyes open for more beads.

In the meantime, I got thinking, because the necklace had chain links, then rather than restringing the beads, I could somehow attach the chain to my light.  I draped the necklace over the outer ring, just to see how it would look...


 ... and that is where it stayed.  I think it looks great.


Inspriation Light ($169)

 My Original Version ($72) Which could be done cheaper if you had lots of costume jewelry floating around.

I just hope Hubby likes the bedroom bling 

Linking to these awsome blogs here

Sunday, 20 November 2011

Girls Bedroom Light Fitting

Below is the original light fitting that the builders put in the house (in all the rooms).  I was saddened to find that they are plastic and sold at the local hardware store for $5 each (no expense spared on the builders behalf!!)  It has since been my mission to replace these light fittings with something original that I love (without paying a fortune).


I was inspired by the below photo on pinterest,


and after tackling this light fitting project, I was keen to give the birdcage a go.

I picked up a fake birdcage at "The Reject Shop" for $10.  Unfortunately, like most of my projects, I didn't get before photos of the cage, because I just wanted to get started, but essentially the birdcage remains the same, just with a hole in the bottom now. I used the old light fitting as a template, to draw a circle in the middle.   And from that moment on, this is what my thought process was like... Can I drill a hole in the bottom of the cage?  Oh, yes I can.  Well how close do I need to drill the second hole to make it easy to cut the metal?  Oh, not that, close.  Better drill another hole, oops too far apart.  Any way seventy billion holes and a pair of wire cutters later, I had a large hole cut out of the bottom of the birdcage.  Its not perfectly round, and it's pretty rough round the edges, but it is a hole.


So then I thought, I will just see if it fits around the light. Yay, do a little happy dance, it does. 


I then added the butterfly by using a stenciling cutter and cutting out 3 butterflys in contrasting scrap paper, and gluing the middle together.  It not that hard, and I will take photos of how I did it when I make more (this one was an experiment).  Anyhoo, little angel has her own pet butterfly.


Today, I have changed up the light globe, as you can see in the above photo it was a spiral energy efficient globe, but I found an energy efficient globe that looks more like the conventional globe shape.  Love the look of this much better.

I have just cottoned onto DIY lightfittings, and I would love to see what you have come up with.  Please share your links, so I can stalk you :-)

Linking this project to these awesome here


Thursday, 2 June 2011

Original Wire Lightfitting

I have noticed a lot of industrial styling creeping into decoration just lately.  And co-incidently, I have just recently stumbled upon a blog site that I absolutely luuuuurve, The Painted Hive, and I was inspired by a light fitting Kristine did for her nursery, which you can view here.  I loved the look of it, but really didn't give it another thought.

That is until... I spotted this beauty in an op shop


It was some sort of basket, but it screams light fitting to me.

So using Kristine's wire ceiling light as inspiration I took to my new basket with wire cutters.

I measured the diametre of the hole, by using the old light fitting


Marked the hole with a permanent marker, and got snipping with wire cutters


and installed


I love how the wavy wire makes purdy patterns on the walls when lit up.  I love the lightshade and it was so cheap ($4) and so easy.

So here is the (boring) before
and (amazing) after
Love it
Love it
Absolutely love it.

Cheers Sarah